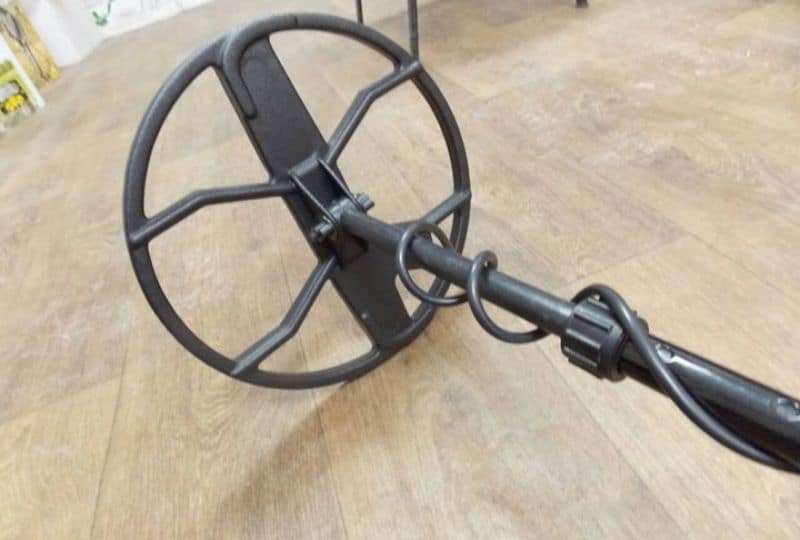
When you buy a new metal detector, the first thing we usually tend to pay attention to is the control box, what options it offers and how user-friendly it is …
While this is an important part of the machine, you need to understand that metal detector coil is probably the most critical part. In other words, you need to make sure that the coil can operate properly before you can start playing with the settings offered by the control box.
In this short article, I share some helpful tips to test your metal detector coil.
How does the coil on a metal detector work?
Metal detectors function by transmitting an electromagnetic field from the search coil into the ground. Any metal objects within that particular electromagnetic field will get energized and retransmit an electromagnetic field of their own.
The detector’s search coil receives the retransmitted field and alerts the user by producing a target response.
Most metal detectors have two coils … One that carries alternating current at very high frequency (1-10 KHz) and the other coil acts like the receiver.
The excited coil creates a magnetic field and this induces a small amount of current in the receiver coil. This current (also called as Induced current or Eddy current) is known and calibrated.
Now when you take this arrangement near a metallic substance, two things happen:
- First, the excited coil also induces an eddy current in the metallic substance. This eddy current produces its own magnetic field that opposes the magnetic field produced by the coils. This causes the eddy current in the receiver coil to drop.
- A sensor senses this drop in eddy current from the expected value and gives a signal indicating the presence of a metallic substance.
By the way, if you have issues setting with your metal detector coil or any other issues, then you should have a look at these tips for metal detector troubleshooting. You will find it really useful …
How to test search coil depth?
This one is quite easy to do and you can do it in pretty much 2 different ways …
The first and easiest way is by turning your machine on, keep it operating in the default settings and then lay it down on the grown or on a table. The coil back-surface should be on 90degrees with the ground or the table where you’ve put the detector.
You will need a ruler of about 20 inches long and put its edge (where it is marked 0 inch) right on the bottom edge of the coil.
After that, you will need to start swinging different objects over the ruler and check whether your detector reacts to it or not, and if it reacts to it at which depth.
For this I invite you to have a sheet where you can write down several objects (knife, coins of different sizes, different types of jewelry, buttons …) and for each one mark whether the coil reacts to it or not and the max depth depending on what you can read on the ruler.
This is the easiest way to check!
The other way which is harder to do, but more reliable, is by burying different objects underneath the ground at different depths and check whether your detector react to them or not.
In your sheet you can also add the intensity of the received signal/tone as well as the VDI number you see on your control box.
Sheet Example:
| Object | Nature | Detected (Yes/No) | Max Depth (inches) | Tone Intensity | VDI Number |
| Knife | Steel | Yes | 10 | Low | 15 |
| Button | Copper | Yes | 8 | High | 80 |
| Ring | Gold | Yes | 11 | Medium | 44 |
Those numbers will serve as a reference for you in the future. Indeed, metal detector coils tend to lose some of their detection ability over time, especially if you are using it extensively in difficult conditions.
So, you can always come back and do those same tests and check whether your coil is able to score the same results scored at the beginning. Otherwise, this could mean that your coil was a little deteriorated which could mean that it is a good idea to buy a new search coil.
How to test search coil sensitivity?
The approach of testing your coil sensitivity is pretty much the same as testing its depth; the only difference is by utilizing different target sizes during your tests. From the bigger sized objects to the smallest ones …
Indeed, the best practice for that is by using objects roughly made from the same metal (let’s say copper or gold or iron …) but with different sizes.
If the coil is able to react to small targets at a maximum depth, then this means that it has very good sensitivity.
You can utilize the same sheet I’ve shared above and just add a column where you can mention the size of the object (big, medium, small, very small).
Final Thoughts
I wouldn’t say that this article is 100% complete and covers all the use cases and the ways you can test your coil. But the info I’ve already provided is well enough to get started …
I really hope to come back to this article in the future and update it with even more in-depth information.
